To check voltage activity in the NEURON GUI, go to ‘Graph’ > ‘Voltage Axis’ and ‘Tools > Run Control’ and select ‘Init & Run’
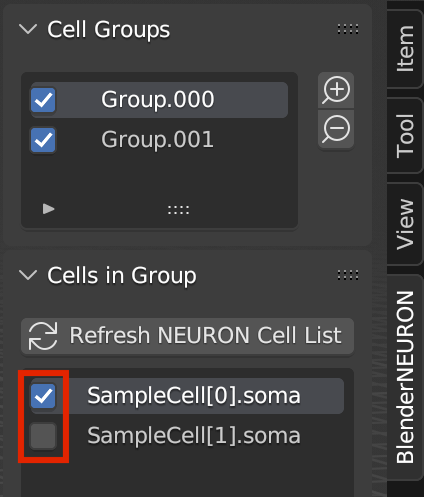
Select Cell Group to animate in ‘Cell Groups’
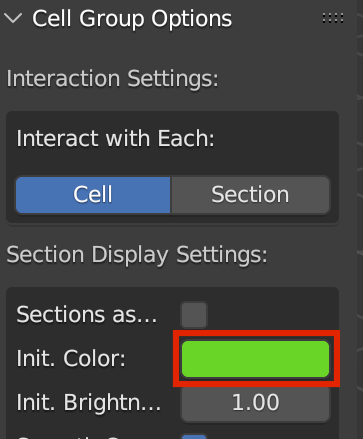
Expand ‘Cell Group Options’
Check off ‘Record Activity’
Activity will be recorded next time the cells are imported
Select granularity (‘Record from Each:’)
Record activity by cell (at each soma), section (at the midpoint of each section), or segment (at each segment). Finer granularity has better detail but requires more time and memory.
Choose Recording Settings
Select ‘Record’ variable: NEURON section variable name to record/animate. ‘v’ by default for voltage (e.g ‘v’ of soma(0.5).v). (note: for variables other not voltage, make sure target variable exists in sections that will be recorded from)
Set ‘Start Recording’ and ‘Stop Recording’ times (in ms): what time range in the NEURON simulation to record
Select ‘Sampling Period’: how many milliseconds between samples collected of the recorded variable (e.g. voltage)
Select ‘Frames per Milliseconds’: how many frames of animation will represent each millisecond of NEURON activity
Set colors on the color scale to correspond with low and high values
Set ‘Variable Low’ and ‘High’ values: set minimum and maximum values to cover the range of the recorded variable (e.g. voltage) in your model
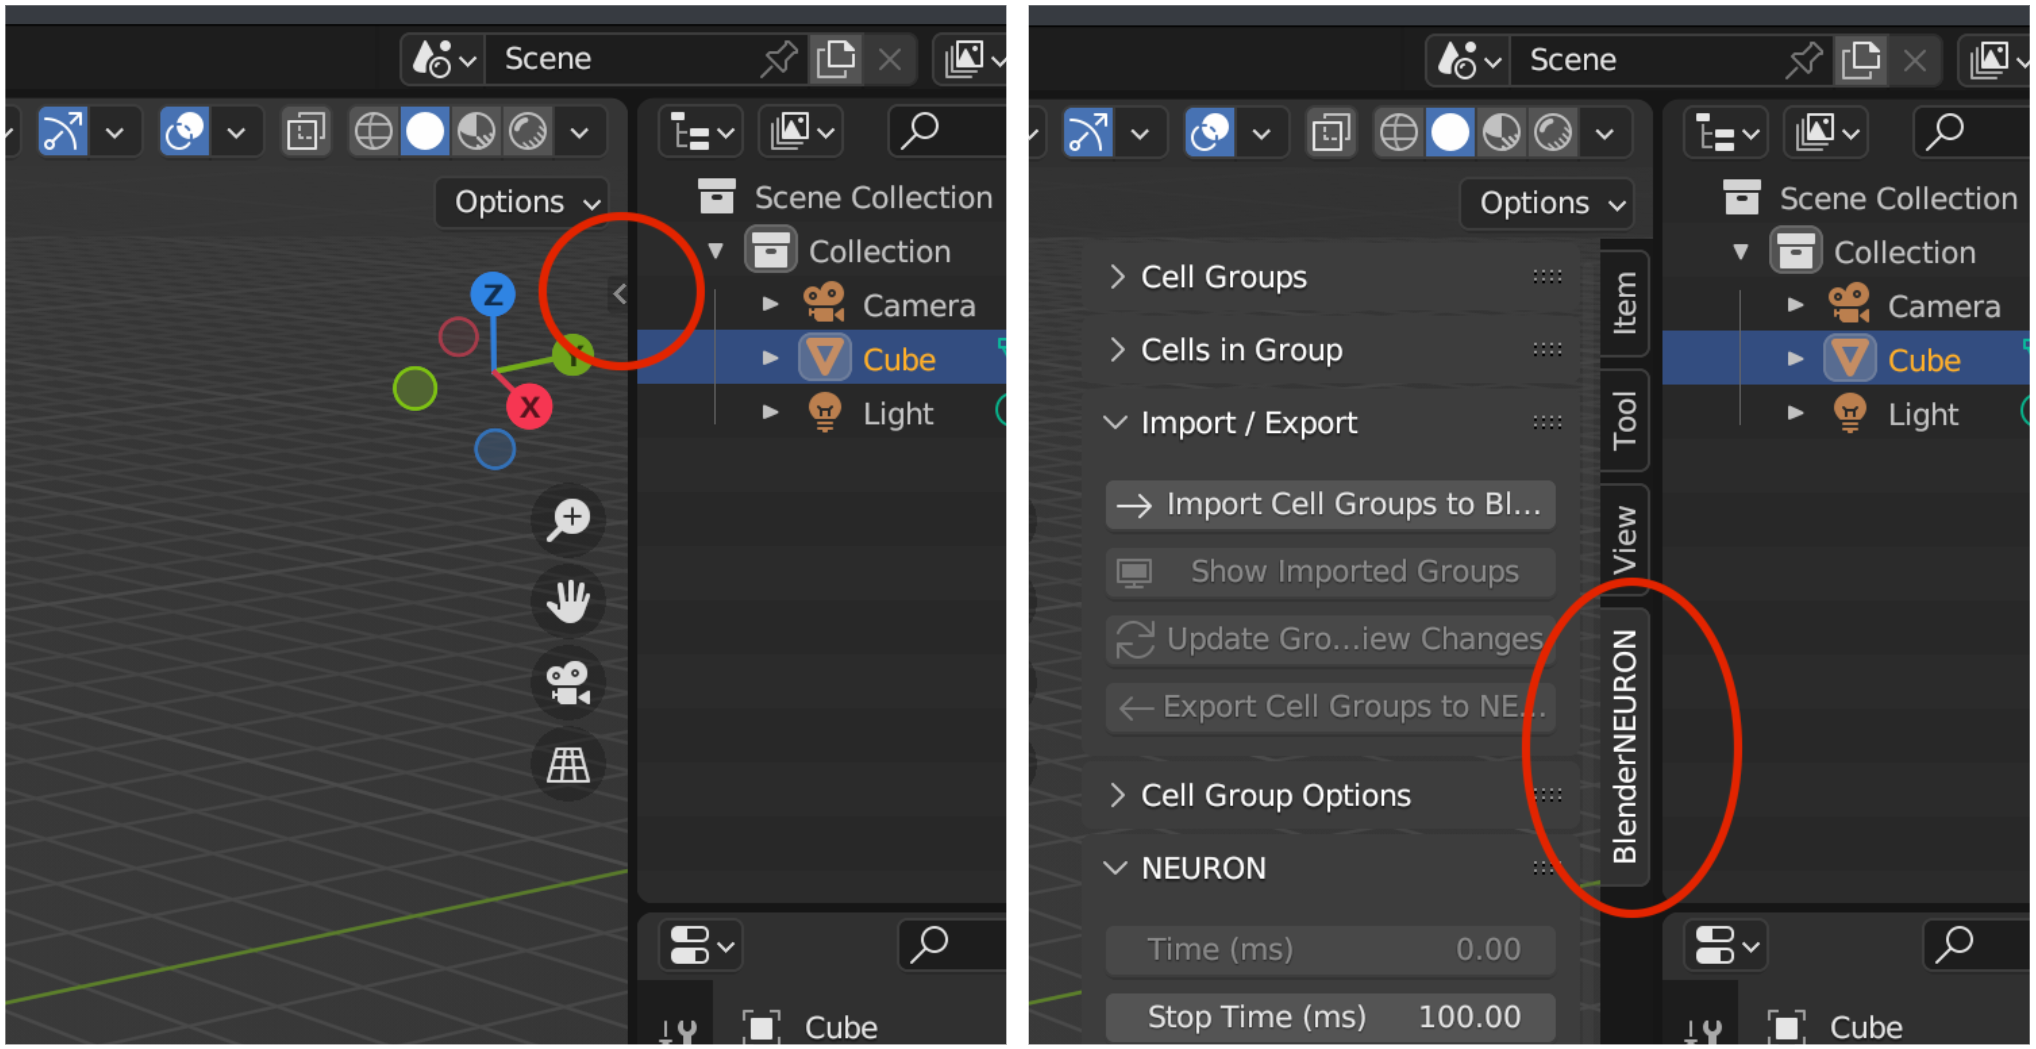
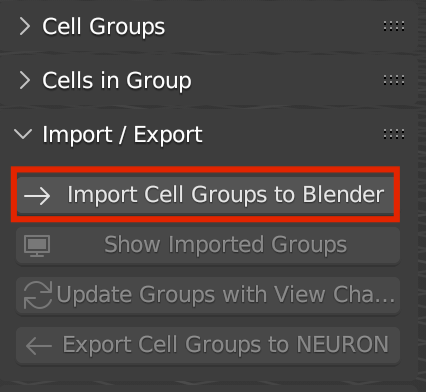
Import cells with ‘Import Cell Groups to Blender’ under ‘Import / Export’
Scrub the timeline on the bottom to see animation
Change in voltage/recording variable value should be visible as change in color and/or brightness (to preview change in brightness without rendering image, press ‘Z’ > ‘Material Preview’)
Frame number = NEURON simulation time (ms) x ‘Frames per Millisecond’